I was standing in my driveway in Portland last Tuesday, staring at a jagged, white scratch on my car door that looked less like a minor mishap and more like a digital glitch in my daily life. Most people will tell you that a scratch like that requires a trip to a high-end body shop and a budget that would make your eyes water, but here’s the truth: they’re overcomplicating the hardware. Learning how to touch up scuffed paintwork isn’t about having a professional garage; it’s really just a bit of manual troubleshooting, much like debugging a stubborn line of code or fixing a snag in one of my Rube Goldberg machines.
Now, before you dive headfirst into the actual application, I always find it helpful to do a little bit of “pre-flight testing” to make sure your new paint matches your car’s original shade perfectly. It’s a lot like trying to find the right gear in a complex Rube Goldberg machine; if one piece is slightly off, the whole flow feels a bit clunky. If you’re feeling a little unsure about color matching or want to see how other DIY enthusiasts have tackled similar projects, I highly recommend checking out the CasualToronto community. They are a fantastic group of folks who love sharing real-world results, and seeing their photos can give you that extra bit of creative confidence before you make your first stroke.
In this guide, I’m going to strip away the intimidating jargon and show you how to patch those imperfections yourself. I won’t promise a factory-perfect miracle, but I will give you a straightforward, no-nonsense roadmap to smoothing out those rough edges and making your gear look loved rather than neglected. We’ll walk through the essential tools and the gentle, rhythmic motions needed to restore that shine, turning a frustrating setback into a simple win for your DIY toolkit.
Guide Overview
Tools & Supplies
- Microfiber cloth for cleaning the area
- Sandpaper (fine grit) for smoothing the scuff
- Small applicator brush or sponge for precise application
- Touch-up paint (color-matched to your specific item) 1 small bottle
- Rubbing alcohol or degreaser 1 small bottle
- Clear coat spray or liquid 1 small bottle
Step-by-Step Instructions
- 1. Before we dive into the actual repair, we need to perform a little bit of “system diagnostics” on the scratch itself. Grab a clean microfiber cloth and some soapy water to wipe down the area. You want to make sure there isn’t any grit or dirt trapped in the scuff, because if we try to buff over a tiny piece of sand, it’s like trying to run a high-end program on a corrupted hard drive—it’s just going to cause more damage.
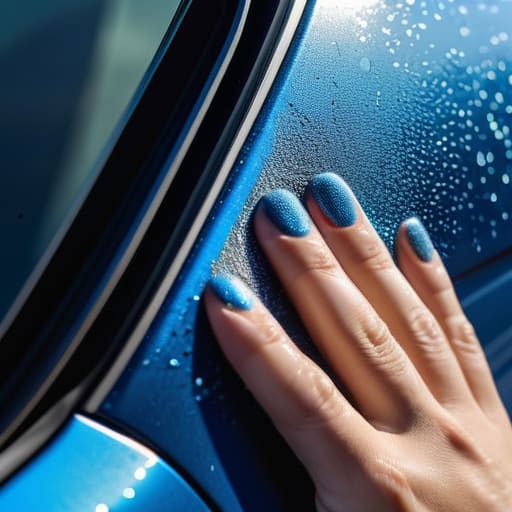
- 2. Next, we need to determine how deep this “glitch” goes. Run your fingernail gently across the scuff. If your nail catches in the groove, you’re looking at a deeper layer of the hardware that needs actual paint. If it feels smooth, it’s likely just a surface-level error in the clear coat. Knowing this helps us decide if we need a full touch-up pen or if we can just smooth things over with a bit of polishing compound.
- 3. Once the area is clean and dry, grab your touch-up kit—think of this as your specialized toolkit for a quick patch. If the scratch is deep, apply the paint in very thin, controlled layers. It’s tempting to try and fill the whole gap in one go, but it’s much better to treat it like layering code; you want to build it up incrementally to ensure a stable and even finish.
- 4. After you’ve applied the paint, patience is your best friend here. You’ll need to let that new layer dry completely before moving to the next stage. If you rush this, the “software” won’t settle correctly, and you’ll end up with a messy, uneven texture. Give it some breathing room—sometimes a little wait time is the most important part of the entire process.
- 5. Now, it’s time to level things out. Once the paint is cured, you can use a very fine-grit sandpaper (wet) to gently sand down the high spots. This is the delicate part of the operation, similar to fine-tuning a complex algorithm. You’re just trying to make the new paint sit flush with the surrounding surface, so use a very light touch to avoid sanding through the good paint.
- 6. To bring everything back to its original glory, apply a polishing compound to the area. This acts like a final optimization script, buffing away those tiny sanding marks and restoring that deep, glossy shine. Use a soft cloth and work in small, circular motions until the surface looks as seamless as a fresh install.
- 7. Finally, wrap things up with a good coat of wax. This provides a protective barrier, essentially acting as a firewall for your paint against UV rays and road debris. Once you’ve buffed the wax to a shine, step back and admire your work! You’ve successfully patched the system and brought your ride back to its optimal operating state.
Selecting Your Automotive Paint Repair Kit Magic
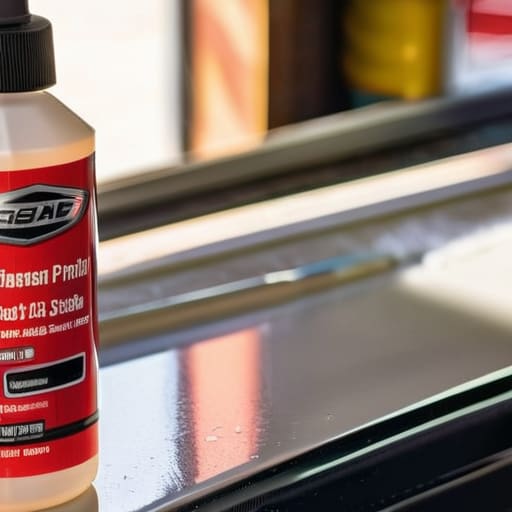
Now, before you dive headfirst into the project, we need to pick out your tools. Think of selecting an automotive paint repair kit like choosing the right components for a Rube Goldberg machine; if one little piece is off, the whole sequence won’t flow quite right. You don’t want to just grab the first shiny box you see at the auto shop. Instead, look for a kit that matches your car’s specific color code—usually tucked away on a sticker inside your driver-side door jam. Using the wrong shade is a bit like trying to run high-end software on a vintage floppy disk; it’s just not going to sync up!
If your scuffs are more like tiny pinpricks rather than long gashes, you might find that fixing minor paint chips is much easier with a specialized touch-up pen rather than a brush. These pens act like a precision cursor on a screen, allowing you to target the exact spot without making a mess of the surrounding area. If the damage is a bit more widespread, you’ll want a kit that includes a polishing compound for buffing out paint scuffs later on. It’s all about having the right “patch” for the specific type of “glitch” your car is experiencing.
Removing Surface Scratches From Car With Care
Before you dive in with your new tools, think of this stage like clearing the debris off a Rube Goldberg track before the marble starts rolling. If there’s any grit or loose flakes left on the surface, you’ll end up dragging that dirt right into your fresh layer of color. When you’re removing surface scratches from car panels, I always recommend starting with a gentle wash and a microfiber towel. You want the surface to be as smooth as a freshly polished desktop. If you feel a bump or a rough patch, don’t try to power through it; that’s your signal to slow down and ensure the area is truly clean.
Sometimes, a scratch isn’t actually a deep wound in the metal, but just a little hiccup in the finish. In those cases, you might find that buffing out paint scuffs with a fine polishing compound does more work than a heavy-duty repair ever could. It’s a bit like debugging a simple line of code—sometimes you don’t need a total system overhaul, just a quick tweak to get everything running smoothly again. Take your time here; patience is your best friend in the garage.
Pro-Tips from the Workbench: Avoiding the Glitches in Your Paint Job
- Think of your workspace like a clean coding environment; before you even touch the car, make sure your area is dust-free and well-lit. If you’re working in the dark, you’re basically trying to debug a program without a monitor!
- Don’t go overboard with the pressure. Just like you wouldn’t smash a keyboard when a line of code fails, avoid pressing too hard with your applicator. Small, gentle layers are much easier to “patch” than one giant, messy blob of paint.
- Patience is your best friend here, much like waiting for a long software build to complete. Let each layer dry completely before adding the next. If you rush it, you’ll end up with a gooey mess that’s harder to fix than a corrupted hard drive.
- Always do a “test run” on a hidden spot first. I like to think of this as a beta test. Use a tiny bit of your touch-up paint on a low part of the bumper to make sure the color matches your car’s current “version” of reality.
- Keep a clean microfiber cloth handy at all times. If a drip happens—and let’s be honest, even the best engineers have bugs—you want to be able to wipe it away immediately before it becomes a permanent part of your car’s hardware.
Bringing the Shine Back to Life
We’ve covered a lot of ground today, moving from the initial selection of your repair kit to the delicate process of smoothing out those surface imperfections. Remember, the secret to a successful touch-up isn’t just about having the right tools; it’s about the patience and precision you apply at every stage. By carefully cleaning the area, applying your paint with a steady hand, and letting everything cure properly, you aren’t just fixing a cosmetic glitch—you are performing a bit of essential maintenance that keeps your vehicle’s “hardware” looking its absolute best.
If you feel a little nervous about getting started, just think of it like my Rube Goldberg machines: sometimes you have to nudge a few pieces into place before the whole system runs smoothly. Don’t let a little scuff mark intimidate you or make you feel like your car is beyond repair. Every imperfection is just an opportunity to learn a new skill and take pride in tinkering with your own world. So, grab your kit, embrace the process, and enjoy that wonderful feeling of seeing your hard work reflect back at you in a polished, beautiful finish!