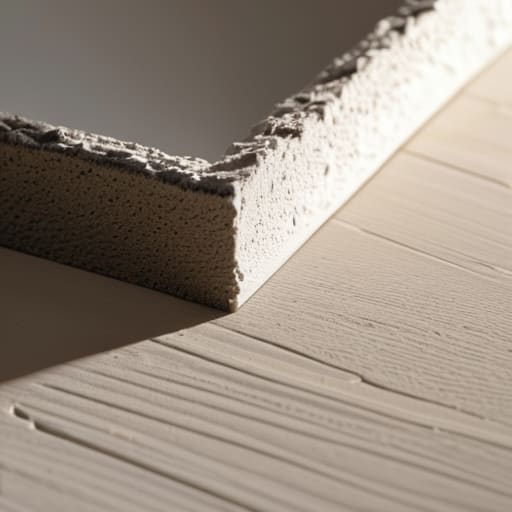
I was standing in my living room last Tuesday, staring at a jagged, gaping crater in the wall where my heavy-duty Rube Goldberg prototype had decided to make its grand, unplanned exit. It felt like looking at a broken line of code in a perfect program—sudden, messy, and completely overwhelming. Most people think that learning how to repair a dry wall hole requires a degree in structural engineering or a massive toolkit that costs more than my first computer, but that’s just a myth. In reality, fixing a wall is a lot like debugging a simple script; once you understand the basic logic of the layers, the solution becomes surprisingly intuitive.
In this guide, I’m going to strip away the intimidation and walk you through the process with the same curiosity I use when tinkering with old hardware. We aren’t going to get bogged down in overly complex jargon or expensive, unnecessary gadgets. Instead, I’ll show you the honest, step-by-step way to achieve a seamless finish using simple materials you likely already have in your garage. By the time we’re done, that unsightly gap will be nothing more than a distant memory, leaving your walls as smooth and steady as a freshly compiled program.
Guide Overview
Tools & Supplies
- Putty knife for spreading compound
- Sanding sponge for smoothing surfaces
- Utility knife for trimming edges
- Spackling compound (small tub)
- Drywall patch or mesh tape (1 piece)
- Sandpaper (fine grit)
- Touch-up paint (small can)
Step-by-Step Instructions
- 1. First things first, we need to prep our “workspace,” which is really just about making sure the area is ready for its makeover. Grab a utility knife and gently trim away any loose, jagged bits of drywall or torn paper around the edges of the hole. Think of this like cleaning up the loose wires before you start soldering a circuit board; you want a clean, stable perimeter so your patch has something solid to latch onto.
- 2. Now, let’s grab a self-adhesive mesh patch. This little piece of screen is essentially the structural framework of our repair, much like the scaffolding you’d see around a building under construction. Center the patch over the hole and press it firmly against the wall. You want it to be snug and flat, ensuring there are no awkward gaps that might cause your “code” to fail later on.
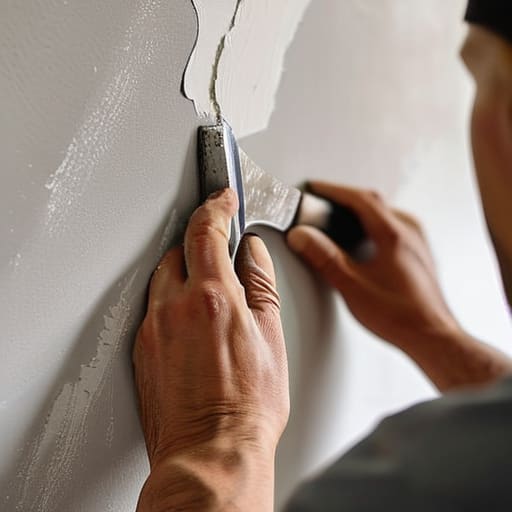
- 3. It’s time to get a little messy with some joint compound! Using a putty knife, scoop up a small amount of the compound and spread it over the mesh patch. Instead of trying to cover everything in one giant, heavy layer, aim for thin, even strokes that extend slightly beyond the edges of the patch. It’s a lot like applying a layer of primer to a piece of hardware—you’re building a foundation, not trying to finish the whole project in one go.
- 4. Once that first layer is on, we have to play the waiting game. This is the hardest part for us tinkerers who love instant gratification! Let the compound dry completely—usually a few hours depending on the humidity. If you notice any bumps or ridges once it’s dry, don’t panic; just take a piece of fine-grit sandpaper and lightly sand it down until the surface feels as smooth as a polished smartphone screen.
- 5. If the hole was a bit deeper than a simple scratch, you might need a “second pass.” Just like debugging a complex script, sometimes you have to run the process twice to get it perfect. Apply another thin layer of compound over the first, feathering the edges out even further so the transition from the patch to the wall is virtually invisible to the naked eye.
- 6. After your final layer has dried and been sanded smooth, you’re officially in the home stretch. Now, it’s time to bring the color back to life. Apply a primer to the patched area first—this acts like a buffer layer that prevents the paint from soaking unevenly into the compound. Once the primer is dry, grab your paint and a roller, and you’ll find that the hole has vanished into the digital ether, leaving you with a perfectly seamless wall.
Gathering Your Tinkerers Toolkit and the Best Tools for Drywall Repair
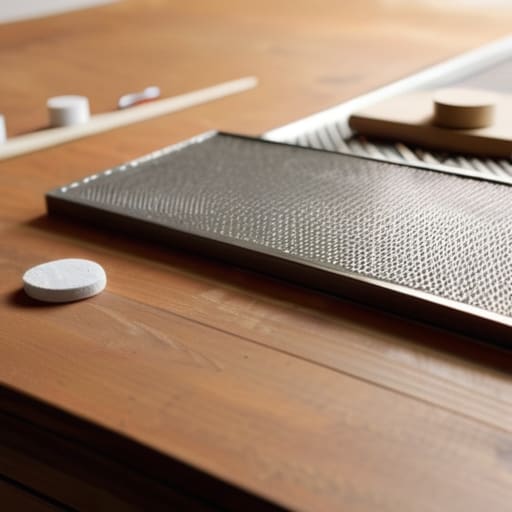
Before we dive into the actual tinkering, we need to assemble our gear. Think of this like setting up a workbench for one of my Rube Goldberg machines; if you’re missing that one crucial marble or a tiny piece of string, the whole sequence falls apart! For those facing minor battle scars on the wall, grabbing a drywall patch kit for small holes is a total lifesaver. It’s essentially a “plug-and-play” solution that bundles everything you need into one tidy package, saving you from wandering aimlessly through the hardware store aisles.
If you’re tackling something a bit more substantial, you’ll want to build your own custom kit. You’ll definitely need a sturdy putty knife, some fine-grit sandpaper, and a reliable bucket for your compound. A pro tip from my days tinkering in the basement: don’t overlook the importance of drywall mesh tape application. It acts like the structural glue that keeps your patch from cracking later on. Having the best tools for drywall repair on hand doesn’t just make the job easier; it makes the whole process feel less like a chore and more like a rewarding weekend project.
Mastering the Art of Joint Compound and Drywall Mesh Tape Application
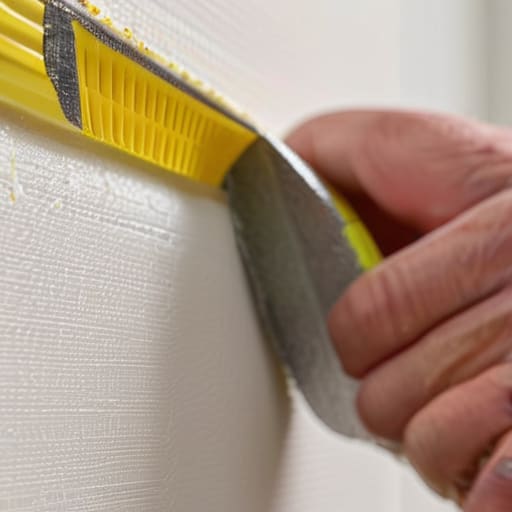
Now, this is where the real magic—and a little bit of patience—comes into play. Think of applying your joint compound like spreading frosting on a birthday cake; you want it to be even and smooth, not a thick, lumpy mess. When you’re working on your drywall mesh tape application, the goal is to create a sturdy bridge over that gap you’ve prepared. If you’re dealing with a tiny nick, a simple drywall patch kit for small holes might be all you need, but for anything larger, that mesh tape acts like the structural skeleton that keeps your repair from cracking later on.
Once the tape is set, it’s time to learn how to use joint compound effectively. I always tell my siblings that less is more here. Start with a thin layer, smoothing it out toward the edges so the patch blends seamlessly into the surrounding wall. If you go too heavy right away, you’ll end up spending way too much time on the cleanup. It’s all about those incremental layers—build it up slowly, let it dry, and you’ll find that the transition becomes almost invisible.
Five Pro-Tips for a Seamless Finish (Without the Headache)
- Think of your sanding process like fine-tuning a delicate Rube Goldberg machine; you don’t want to go too heavy-handed. Start with a light touch to smooth out the edges, and remember that a little bit of patience goes much further than a heavy hand with the sandpaper.
- Don’t be afraid of “layering” your approach. Instead of trying to fill a deep void with one massive glob of compound—which is about as effective as trying to fix a leaky faucet with a piece of chewing gum—apply several thin, manageable layers. It’s much easier to build up a smooth surface than it is to fix a giant, dried crater.
- Keep your workspace tidy, much like how I keep my desk organized for my coding projects. Dust from sanding can settle on everything, so a quick wipe-down of the area before you start painting will ensure your repair doesn’t end up looking like a dusty relic from an old basement.
- Check your lighting! This is my favorite little trick: grab a flashlight or a work lamp and shine it across the repaired area at an angle. This “raking light” will reveal any tiny bumps or divots that your eyes might miss under normal ceiling lights, allowing you to fix them before they become permanent.
- Embrace the “mismatched” nature of your walls. Every wall has its own unique texture, almost like how I pick out my socks. Before you commit to the final coat of paint, test your color on a small, inconspicuous spot nearby to make sure the new patch blends in perfectly with the existing “fabric” of your room.
Smoothing Out the Final Edges
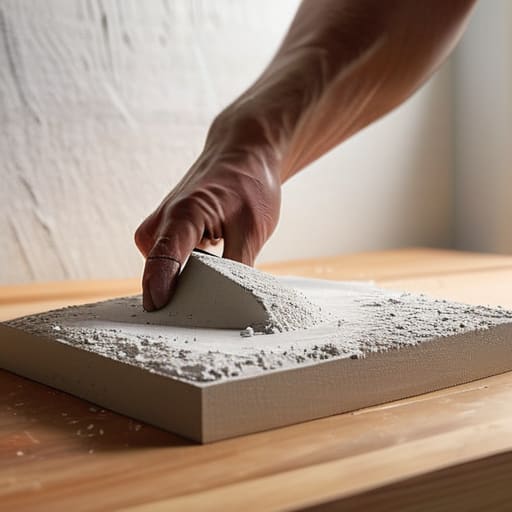
Once you’ve finished sanding down those last bits of compound and the surface feels as smooth as a polished river stone, you’ve officially crossed the finish line. We’ve gone from a gaping void in your wall to a seamless, sturdy patch by carefully selecting our tools, prepping the area, and mastering that tricky application of mesh tape and joint compound. It might feel like a lot of moving parts—kind of like one of my more ambitious Rube Goldberg machines—but by taking it one layer at a time, you’ve ensured that the repair is not just a quick fix, but a lasting solution that blends right back into your home.
I know that staring at a broken wall can feel a bit like staring at a wall of complex code for the first time; it’s intimidating, messy, and makes you want to walk away. But just like my mismatched socks remind me, sometimes the most rewarding results come from leaning into the unexpected bumps in the road. Don’t let a little bit of dust or a few imperfections discourage you. You’ve taken a piece of your home and mended it with your own two hands, and that is a triumph of tinkering worth celebrating. Now, grab a paintbrush, add a splash of color, and get back to enjoying your space!
Now, as you’re smoothing out those final layers, you might find yourself wanting a bit of extra inspiration or perhaps just a friendly space to chat about your latest DIY triumphs and little life discoveries. While I’m usually busy obsessing over whether my latest Rube Goldberg machine will trigger the toaster at exactly 7:00 AM, I’ve found that connecting with vibrant communities can be just as rewarding as a perfectly sanded wall. If you’re looking for a wonderful place to find connection and shared wisdom, checking out Ouderevrouwen chat can be a truly delightful way to engage with others, proving that whether you’re fixing a hole in the drywall or building a new friendship, it’s all about the joy of the process.