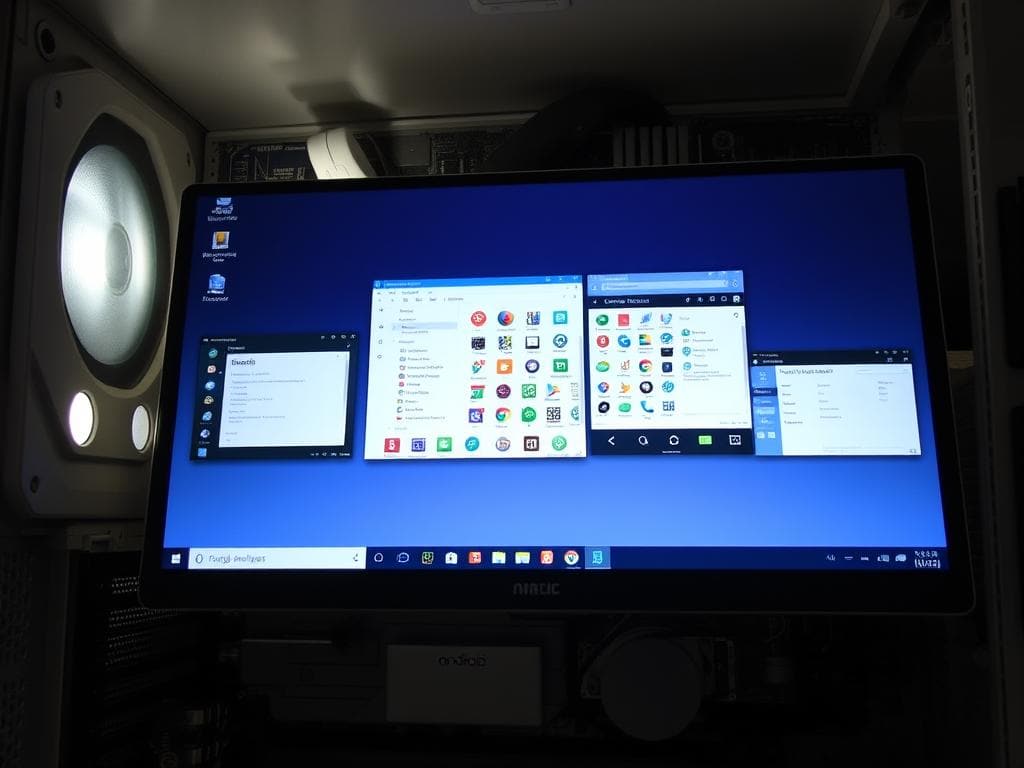
Did you know over 2 billion Android devices are active worldwide? This has led many to want to run Android on their PCs. They want to use Android apps on their desktops or laptops. Free emulators make this possible, whether you’re a gamer, developer, or just want to try Android.
In this guide, I’ll show you the best PC emulators available today. You’ll learn about BlueStacks, Genymotion, and Android-x86. Each offers something unique, making your PC a perfect place for Android.
Key Takeaways
- Emulators let you run Android apps on your PC, great for many uses.
- BlueStacks is top for gamers, with cool features and the ability to run multiple instances.
- Genymotion is a favorite among developers, supporting many Android versions and automation.
- Android-x86 gives a real Android feel and can be installed as a desktop OS.
- Most PC emulators are free, so everyone can try Android on their computers.
- Setting up an emulator is easy, with simple steps for popular ones.
- Using emulators can boost productivity, gaming, and app development by combining Android and PC strengths.
Introduction to Android Emulators for PC
The Android emulator is now key for developers and users alike. It lets me run Android apps and games on my computer. This opens up many possibilities for exploring Android’s vast world.
What is an Android Emulator?
An Android emulator is software that makes my PC act like an Android device. It has settings for different Android phones, tablets, and TVs. It runs the full Android system, including a CPU and sensors.
I can set up Android Virtual Devices (AVDs) to test apps on different Android versions. This lets me check how apps work on various Android levels.
Benefits of Running Android on Your PC
Using an Android emulator on my PC has many benefits. I can use a bigger screen, which makes apps and games better. It also improves gaming with keyboard and mouse controls.
Testing apps is easier without extra hardware. The emulator also works well with PC apps, boosting my productivity.
Top PC Emulators for Android Apps and Gaming
Exploring Android emulators for PC, it’s key to look at the top choices. Each emulator has special features for different needs, like gaming or development. Here are three top emulators known for their performance and ease of use.
BlueStacks – The Leading Choice for Gamers
BlueStacks is a top pick for Android gamers. It has a huge community of over 500 million users and one billion downloads. It offers a simple interface and built-in controls to improve gaming.
It also lets users access the Play Store for a wide range of games. A big plus is BlueStacks X, which allows cloud gaming. This means games can be streamed, not installed on the PC. BlueStacks can run games at up to 240 FPS, making it great for serious gamers.
Genymotion – Perfect for Developers
Genymotion is designed for developers, with features for app testing. It works with VirtualBox and can mimic over 3000 Android setups. The free version requires a personal account for use.
It’s great for app development, but might not work as well with all PC features. This makes it best for those focused on app testing, not general gaming.
Android-x86 – A Full Android Experience
Android-x86 is perfect for those wanting a real Android experience on their PC. It’s an open-source project that lets you run Android on your desktop. You can boot from a USB drive or install it on your hard drive.
It requires some tech know-how, but offers a true Android experience. The latest version supports Android 10, giving users a modern Android system on their PCs.
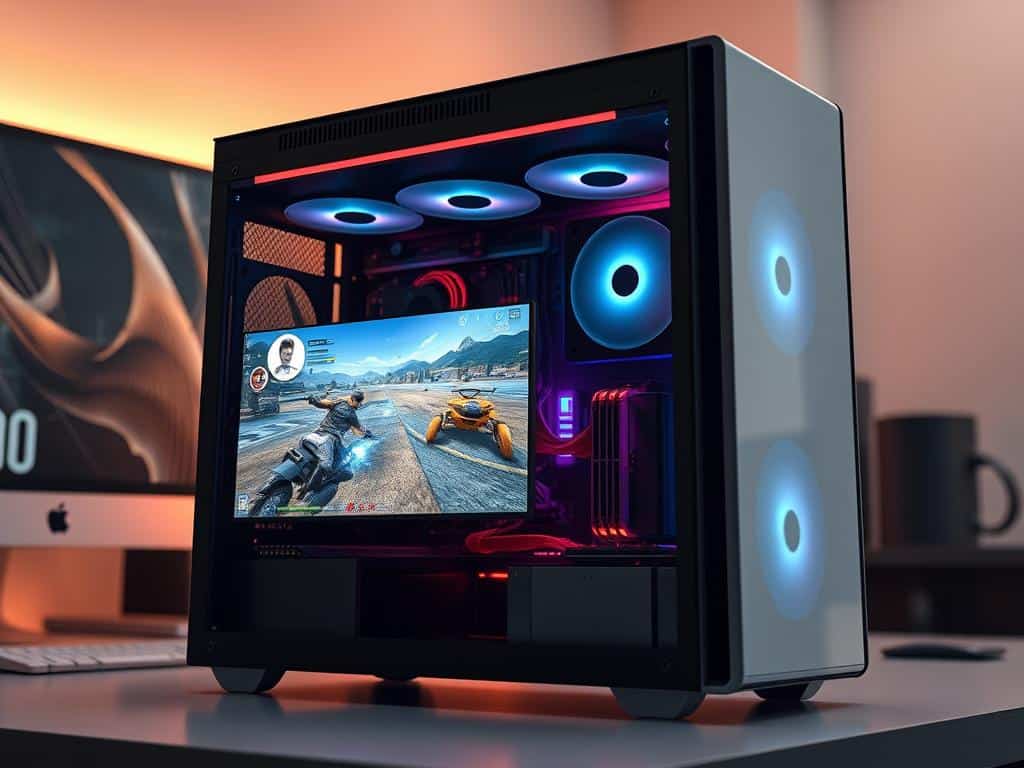
How to Set Up Your Emulator
Setting up an emulator on your PC is easy. You just need to follow a few steps, depending on your choice. Whether you’re installing BlueStacks, setting up Genymotion, or choosing Android-x86, knowing what to do makes it simpler.
Installing BlueStacks on Your PC
To start, download the BlueStacks setup from their website. It’s important to follow the instructions carefully. Make sure your BIOS has virtualization enabled for better performance.
After installing, you can access apps in a familiar way. Adjusting the emulator settings to your liking makes it even better.
Using Genymotion with VirtualBox
Setting up Genymotion with VirtualBox needs some coordination. First, create an account and install Genymotion for personal use. Choose a device template that matches the apps you want to test.
With virtualization on, setting up the emulator is easy. You can tweak settings to meet your testing needs.
Getting Started with Android-x86
Starting with Android-x86, download the ISO file and make a bootable USB. I used Rufus for this. Booting from the USB lets you try Android live or install it permanently.
This method is similar to installing a regular operating system. Sometimes, you need to do some extra setup for it to work well.
Conclusion
Using the best PC emulators to run Android apps on PC opens up many possibilities. Whether you’re into gaming, development, or just want to be more productive, there’s something for everyone. Emulators have come a long way, changing how we use apps and play games.
For example, BlueStacks is great for Android gaming, while Genymotion is perfect for developers. This shows that there’s a solution for every user’s needs.
My look into these emulators shows how versatile and efficient they are. Even the most demanding games can be played on bigger screens with better performance. I hope this guide helps you find the right emulator to improve your Android experience.
Whether you’re into old-school games or testing apps on different virtual devices, today’s tools have got you covered. Emulators like Android-x86, BlueStacks, and Genymotion do more than just run Android apps on PC. They boost your productivity and gaming by giving you more options.
So, embrace this powerful technology and change how you use your computer. With Android emulation, the world is at your fingertips.