I was standing in my living room last Tuesday, staring at a streak of “eggshell white” that looked more like a smeared piece of old cheese, wondering why my weekend project had turned into a total system crash. We’ve all been told that painting is just about slapping color onto a wall, but that’s the biggest myth in the DIY world. If you skip the foundational steps, you aren’t actually decorating; you’re just layering a glitchy interface over a broken backend. Learning how to repaint a room properly isn’t about having the most expensive brush; it’s about understanding the logic of the process so your hard work doesn’t peel away like a poorly written line of code.
In this guide, I’m stripping away the intimidating jargon to give you a clear, step-by-step blueprint for success. I’ll show you how to prep your surfaces, choose your tools, and apply your finish with the precision of a well-oiled Rube Goldberg machine. Think of this as your personal troubleshooting manual for a flawless transformation. We’re going to turn that daunting task into a rewarding, creative adventure that leaves your space looking absolutely stunning.
Guide Overview
Tools & Supplies
- Paint roller and tray for smooth coverage
- Angled sash brush for cutting in edges
- Painter's tape for protecting trim and ceilings
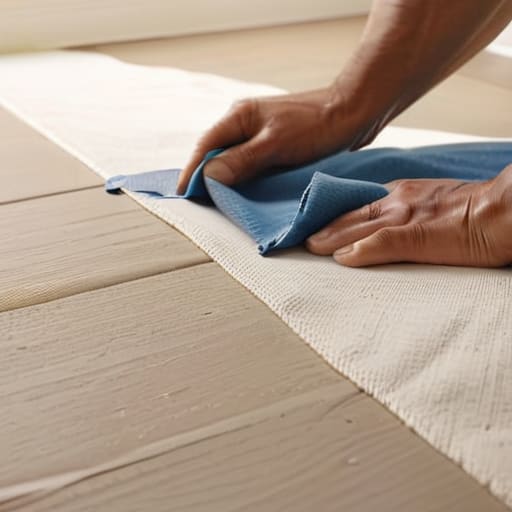
- Drop cloths to protect flooring
- Interior paint (1-2 gallons depending on room size)
- Painter's primer (1 gallon for color changes)
- Sandpaper (fine grit for surface smoothing)
- Spackle (small tub for filling nail holes)
Step-by-Step Instructions
- 1. First things first, we need to clear the “cache” of your room. Just like you wouldn’t want a bunch of old, buggy code cluttering up a fresh program, you don’t want furniture or knick-knacks in your way. Move everything to the center of the room and cover it with plastic sheets. Think of this as creating a clean workspace; it’s much easier to execute a perfect command when there’s no hardware in your way!
- 2. Now, let’s talk about the “hardware prep”—cleaning those walls. Dust, cobwebs, and even a little bit of grease can act like digital noise, preventing your new paint from sticking properly. Take a damp cloth and a bit of mild soap to wipe down the surfaces. If you skip this, it’s like trying to run a high-end game on a dusty, overheating laptop; things just won’t run as smoothly as they should.
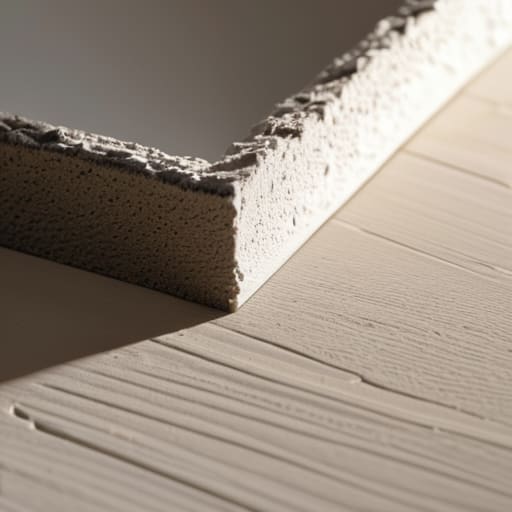
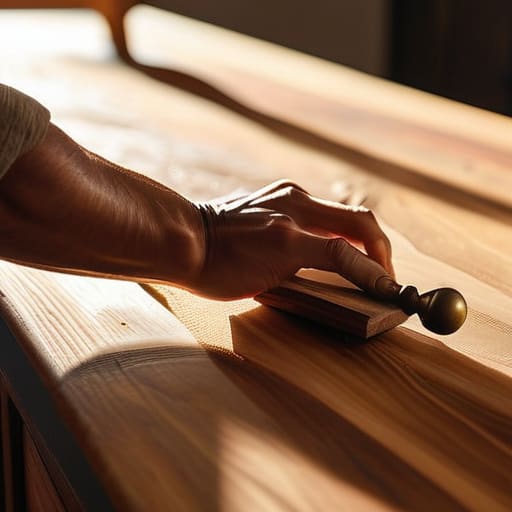
- 3. Before we dive into the colorful stuff, we have to patch up the “bugs” in your drywall. Grab a small container of spackle and a putty knife to fill in those pesky nail holes or tiny cracks. Once it’s dry, give it a light sand with some fine-grit sandpaper until it’s as smooth as a freshly formatted hard drive. This ensures your final finish looks seamless and professional.
- 4. This is where we apply our “security layer”: painter’s tape. Grab some blue tape and carefully line the edges of your ceiling, baseboards, and window frames. It’s a bit like setting up firewall rules; you’re defining exactly where the color is allowed to go and where it’s strictly prohibited. Take your time here—precision in the setup makes the whole process much more stable later on.
- 5. If you’re moving from a very dark color to something light, you’re going to need a primer. Think of primer as the operating system that prepares the environment for your actual application. It creates a uniform surface so your topcoat of paint doesn’t have to work overtime to cover up the old colors. Without it, you might find yourself needing ten coats of paint just to get the right shade!
- 6. Now, it’s time for the main event: cutting in. Before you grab that big roller, use a smaller brush to paint the edges, corners, and areas around trim where the roller can’t reach. I like to think of this as writing the core logic of your program; it’s the detailed work that provides the structure for everything else. Once these edges are coated, you’re ready to go big.
- 7. Finally, grab your roller and start applying the paint in even, sweeping motions. To avoid those awkward “streaks” (which are basically just visual glitches), try to work in small sections and use a “W” or “M” pattern to distribute the paint. It’s all about maintaining a consistent flow, much like ensuring a steady bitrate in a video stream. Once the first coat is dry, repeat the process for a second layer to really make that color pop!
Gathering Your Creative Kit Essential Interior Painting Tools and Supplies
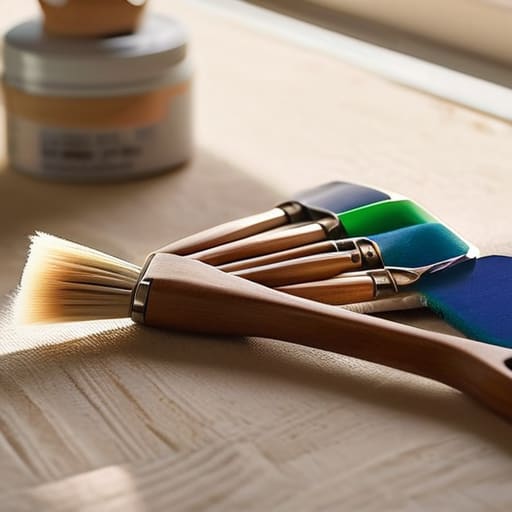
Before we dive into the actual color, we need to assemble our toolkit. Think of this like gathering the gears, marbles, and dominoes for a massive Rube Goldberg machine; if one piece is missing or won’t roll quite right, the whole spectacular sequence can grind to a halt! When you’re scouting for interior painting tools and supplies, don’t just grab the cheapest brushes you see. A high-quality angled brush is like a precision screwdriver for your project—it gives you the control needed for those tricky edges where the wall meets the ceiling.
I also can’t stress enough how much your prep gear matters. While it might feel like a chore, having a solid set of drop cloths and high-quality painter’s tape is your best defense for preventing paint drips and splatters on your lovely furniture. It’s much like writing clean code; it might take a moment longer upfront, but it saves you from a massive debugging nightmare later! Also, keep a damp cloth handy; sometimes the best way to handle a little slip-up is a quick, gentle wipe before it becomes a permanent part of your room’s new aesthetic.
Mastering the Foundation How to Prep Walls for Painting Like a Pro
Think of prepping your walls like setting the stage for a grand play; you wouldn’t want a messy backdrop or a wobbly prop distracting from the main act! Before we even touch a brush, we need to address the surface. If you’re looking into how to prep walls for painting, the secret is all in the details—filling those tiny nail holes with spackle and sanding them smooth. It’s a bit like debugging a piece of code; if you leave those little “bugs” in the wall, they’ll show up even more clearly once the new color hits them.
Now, here is where many people get a little tripped up: the great debate of primer vs paint for walls. If you are trying to tackle the challenge of covering old paint color—especially if you’re moving from a dark navy to a sunny lemon yellow—a good primer is your best friend. It acts like a clean slate, ensuring your new color looks vibrant rather than muddy. Taking this extra step ensures your finish is smooth and professional, rather than a patchwork of old and new.
Pro-Tips to Keep Your Project from Glitching Out
- Think of your lighting like a debugging tool; before you commit to a color, shine a bright lamp on the wall at different times of the day. A shade that looks like a calm ocean in the morning might turn into a moody midnight blue once your evening lamps kick in!
- Don’t rush the drying process, or you’ll end up with a messy “system error.” If you apply a second coat too soon, you’re essentially trying to run two heavy programs on a single processor—it’s going to crash, and your paint will start peeling or bubbling.
- When it comes to the edges, treat your brush like a precision instrument. Instead of diving straight in with a big roller, use a small brush to “cut in” the corners and edges first. It’s like writing clean code before building the entire interface; it ensures everything stays within the right boundaries.
- Avoid the “over-working” trap. Once you lay a stroke of paint down, leave it be! If you keep brushing over the same spot trying to make it perfect, you’ll create texture that looks more like a bumpy topographic map than a smooth wall.
- Always keep a little “backup data” by saving a small jar of your mixed paint. Life happens—maybe you scuff a chair against the wall or a rogue toy hits the baseboard—and having that exact shade on hand makes those quick patches feel like a seamless software update rather than a total system reboot.
The Grand Finale: Stepping Back to Admire Your Work
We’ve traveled a long road from that first dusty corner to the final brushstroke, haven’t we? Just like building one of my Rube Goldberg machines, where every marble and domino has to be in its exact place for the magic to happen, a successful paint job relies on those small, foundational steps. We’ve covered everything from gathering your specialized kit to the heavy lifting of wall preparation, ensuring that your new color isn’t just sitting on top of the wall, but is truly integrated into the surface. By taking the time to prep and layer your paint correctly, you’ve essentially debugged your room, removing all the visual glitches that could have caused a messy finish down the line.
Now comes the best part: the moment you step back, kick off your shoes, and soak in the transformation. I like to think of a fresh coat of paint as a software update for your living space; it’s a way to refresh the interface and make your environment feel brand new and optimized for your life. Don’t worry if a tiny speck of stray paint landed on the floor or if a line isn’t mathematically perfect—that’s just part of the beautifully human process of creating something with your own two hands. So, grab a coffee, find your favorite spot in your newly colorful sanctuary, and celebrate the fact that you didn’t just change a color, you transformed an entire atmosphere!
Now, while you’re busy getting your walls looking pristine, don’t forget that a fresh coat of paint is often the perfect backdrop for a bit of social rejuvenation. Just like how I used to rewire old circuit boards to make them more interactive, we all need a little human connection to keep our spirits bright while we tackle these big home projects. If you find yourself craving a bit of lively conversation to pass the time between coats of primer, you might enjoy the chance to chat with Americans online; it’s a wonderful way to spark some fresh inspiration and keep the creative energy flowing while you work. After all, a room isn’t truly finished until it’s filled with good vibes and great company.