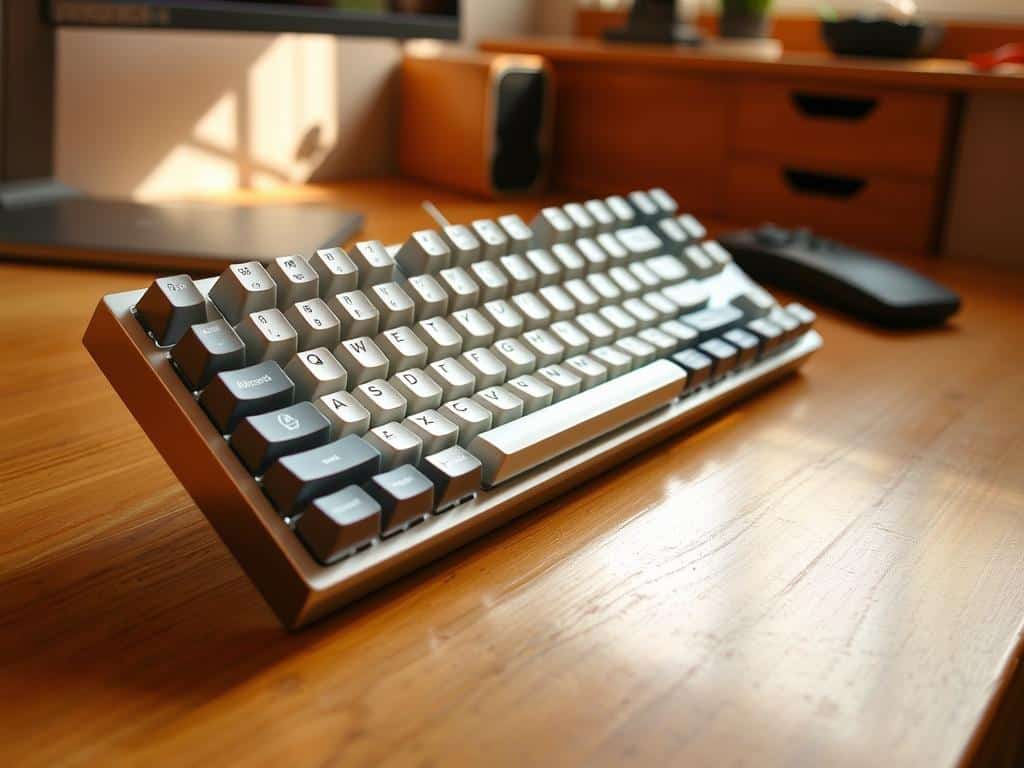
I was sitting in my home office last Tuesday, mid-way through building a particularly finicky Rube Goldberg machine involving a toaster and a handful of marbles, when I realized my keyboard felt… sticky. You know that sensation? You press a key, and instead of that crisp, satisfying click, it feels like you’re stepping into a patch of mud on a rainy Portland sidewalk. Most people think that learning how to clean a mechanical keyboard requires a degree in electrical engineering or a laboratory full of specialized chemicals, but that’s a total myth. Honestly, it’s much more like tidying up a messy toy box; you don’t need a hazmat suit, you just need the right approach and a little bit of patience.
In this guide, I’m going to strip away the intimidating jargon and show you exactly how to give your gear a fresh start without the stress. We’ll walk through everything from the simple “dust-and-shake” method to a deep dive into keycap scrubbing, ensuring your setup feels brand new again. I promise to keep things practical, no-hype, and—most importantly—completely safe for your precious switches. Let’s get those keys clicking perfectly!
Guide Overview
Tools & Supplies
- Keycap puller to remove caps without damage
- Compressed air or electric blower to clear debris
- Small brush or toothpick for tight crevices
- Microfiber cloth for wiping the frame
- Isopropyl alcohol (70% or higher) 1 bottle
- Mild dish soap 1 small amount
- Warm water 1 bowl
- Cotton swabs 5-10 pieces
Step-by-Step Instructions
- 1. First things first, let’s give your keyboard a little “brain break” by unplugging it from your computer. It might seem obvious, but much like making sure you don’t accidentally trip over a wire while building one of my Rube Goldberg contraptions, you want to ensure there’s no power running through the system while we’re poking around under the hood.
- 2. Grab a photo of your keyboard with your phone before you touch a single thing. I know, it sounds a bit redundant, but think of it as a digital blueprint. When you eventually go to put all those tiny keycaps back on, you’ll be incredibly glad you have a visual map to guide you, rather than playing a high-stakes game of “where does this button go?
- 3. Now, let’s get those keycaps off. If you have a keycap puller, use it; if not, a sturdy paperclip can work in a pinch, much like using a bent spoon to fix a wobbly table. Gently pull each key straight up, being careful not to yank too hard or you might end up with a very frustrated mechanical soul on your hands.
- 4. Once the “armor” is off, it’s time to tackle the dust bunnies. I like to use a can of compressed air to blow out the debris, or even a small, soft paintbrush to sweep away the crumbs. It’s a bit like tidying up a messy toy box; we’re just gently shaking out the dust and crumbs so your switches can breathe freely again.
- 5. For the keycaps themselves, let’s give them a spa day. Drop them into a bowl of warm water with a tiny bit of mild dish soap. Let them soak for a while—maybe long enough for me to go grab a coffee—and then give them a gentle scrub with an old toothbrush. Just make sure you let them air dry completely on a towel before they ever touch your keyboard again; moisture is the enemy of our tech friends!
- 6. While the caps are drying, take a slightly damp (not dripping!) microfiber cloth to wipe down the base of the keyboard. You want to be extra gentle around the switches themselves. We’re aiming for a polished look, not a deep-sea dive, so keep the liquid to a minimum.
- 7. Finally, the moment of truth: the reconstruction! Using that photo you took earlier, press each keycap back onto its stem until you hear a satisfying click. It’s a bit like putting a complex puzzle together, but once you’re done, your keyboard will feel just as fresh and snappy as the day you first unboxed it.
Gathering Your Toolkit the Best Tools for Keyboard Maintenance
Once you’ve got those keycaps popped off and your workspace cleared, you might find yourself with a little extra downtime while things dry. It’s the perfect moment to step away from the hardware and reconnect with some people; I often find that jumping into some chat rooms in UK is a great way to unwind and chat about everything from coding quirks to the best local coffee spots. Think of it like a quick mental reset between tasks, ensuring you stay refreshed and inspired before diving back into the nitty-gritty of cleaning those switches!
Before we dive into the actual scrubbing, we need to gather our supplies. Think of this like setting up a workbench for a new Rube Goldberg project; if you’re missing that one crucial marble or tiny lever, the whole sequence falls apart! For the heavy lifting, you’ll definitely want a dedicated keycap puller. When you start removing mechanical keyboard keycaps, using a cheap, flimsy plastic tool can sometimes lead to scratches, so if you can, grab a wire-style puller. It’s much gentler on your gear, much like using a soft brush instead of a scrubby sponge when washing a delicate heirloom.
Next up, let’s talk about the “magic potions” of the tech world. For those stubborn bits of grime hiding in the crevices, a bottle of isopropyl alcohol for electronics (aim for 90% or higher!) is your absolute best friend. It evaporates quickly, which is vital for cleaning keyboard switches safely without leaving behind a sticky residue that could cause a meltdown later. You might also want a few microfiber cloths and a small soft-bristled brush to help with cleaning dust from the keyboard plate. Having these ready makes the whole process feel less like a chore and more like a satisfying weekend project.
Removing Mechanical Keyboard Keycaps Without a Single Fret
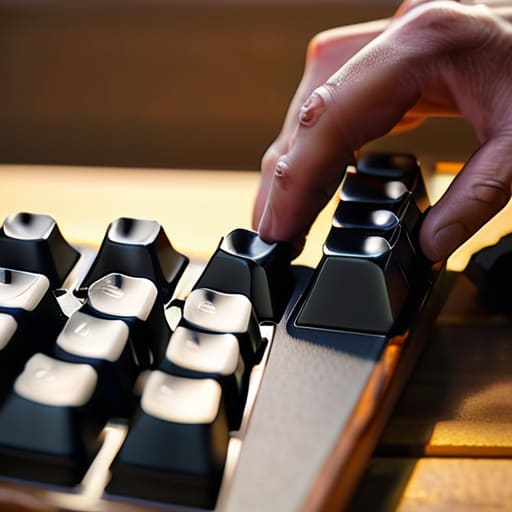
Now that we’ve got our toolkit ready, it’s time for the part that always makes my heart race just a little bit—the actual extraction. Think of removing mechanical keyboard keycaps like carefully deconstructing one of my Rube Goldberg machines; if you pull a piece too hard or at the wrong angle, the whole sequence might go sideways! To keep things smooth, always use your keycap puller vertically. If you’re using a wire puller, slide the loops under the cap and pull straight up with a steady, gentle pressure. You might hear a little pop as the cap releases, but don’t let that startle you; it’s just the stem letting go of its grip.
Before you go diving into the deep end, I highly recommend taking a quick photo of your layout with your phone. It sounds simple, but once those caps are off, trying to remember where the “Home” key goes can feel like trying to solve a puzzle in the dark! Once the caps are safely tucked away, you’ll be able to start cleaning dust from keyboard plate and the switches themselves. This is where the real magic happens, turning a dusty workspace into a pristine sanctuary for your fingers.
Five Little Secrets for a Happy, Dust-Free Keyboard
- Keep a small, soft paintbrush nearby; think of it like a tiny broom for your keys, sweeping away those pesky dust bunnies before they decide to move in permanently.
- Always snap a quick photo of your keyboard before you start pulling things apart—it’s like taking a map before a hike so you don’t end up with your “Q” and “W” keys playing musical chairs later.
- When it comes to the deep cleaning, use a bit of isopropyl alcohol on a cotton swab, but treat it like a delicate watercolor painting; a little goes a long way, and you don’t want to soak the electronics.
- If you’re using compressed air, give it a quick shake and aim it in short, controlled bursts, much like trying to blow out a birthday candle without accidentally sending the cake flying across the room.
- Don’t forget the “hidden” spots! Use a toothpick to gently nudge out any stubborn crumbs tucked in the crevices, because even the smallest speck can feel like a boulder under your fingertip.
A Fresh Start for Your Fingertips
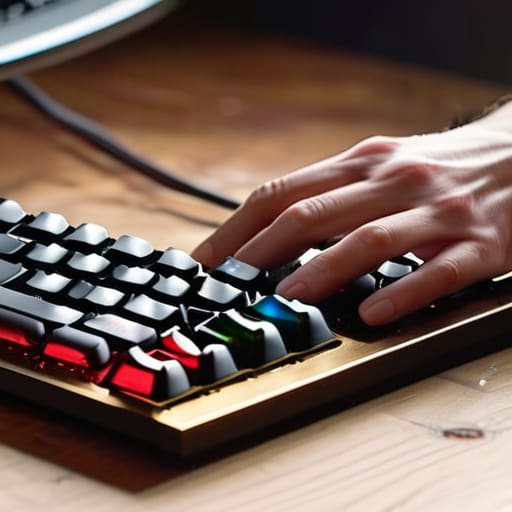
And just like that, the dust has settled—literally! We’ve gone from a crumb-filled battlefield to a workspace that feels as crisp as a fresh sheet of paper. By carefully gathering your tools, gently popping off those keycaps, and giving the board a thorough scrub, you haven’t just cleaned a piece of hardware; you’ve performed a bit of mechanical TLC. Remember, the secret to keeping everything running smoothly isn’t about having a laboratory-grade setup, but rather about being patient and steady with your movements so you don’t accidentally send a switch flying across the room like a rogue marble in one of my Rube Goldberg machines.
As you settle back into your favorite rhythm, typing away on those revitalized keys, I hope you feel a little more connected to the tools you use every day. Technology can often feel like a mysterious black box, but taking the time to open it up and care for it—even just a little bit—makes it feel much more human and manageable. Don’t be afraid to get your hands a little dirty in the pursuit of something better. After all, whether you’re tinkering with a complex line of code or just tidying up your desk, it’s the small acts of care that turn a simple gadget into a lifelong companion. Happy typing!